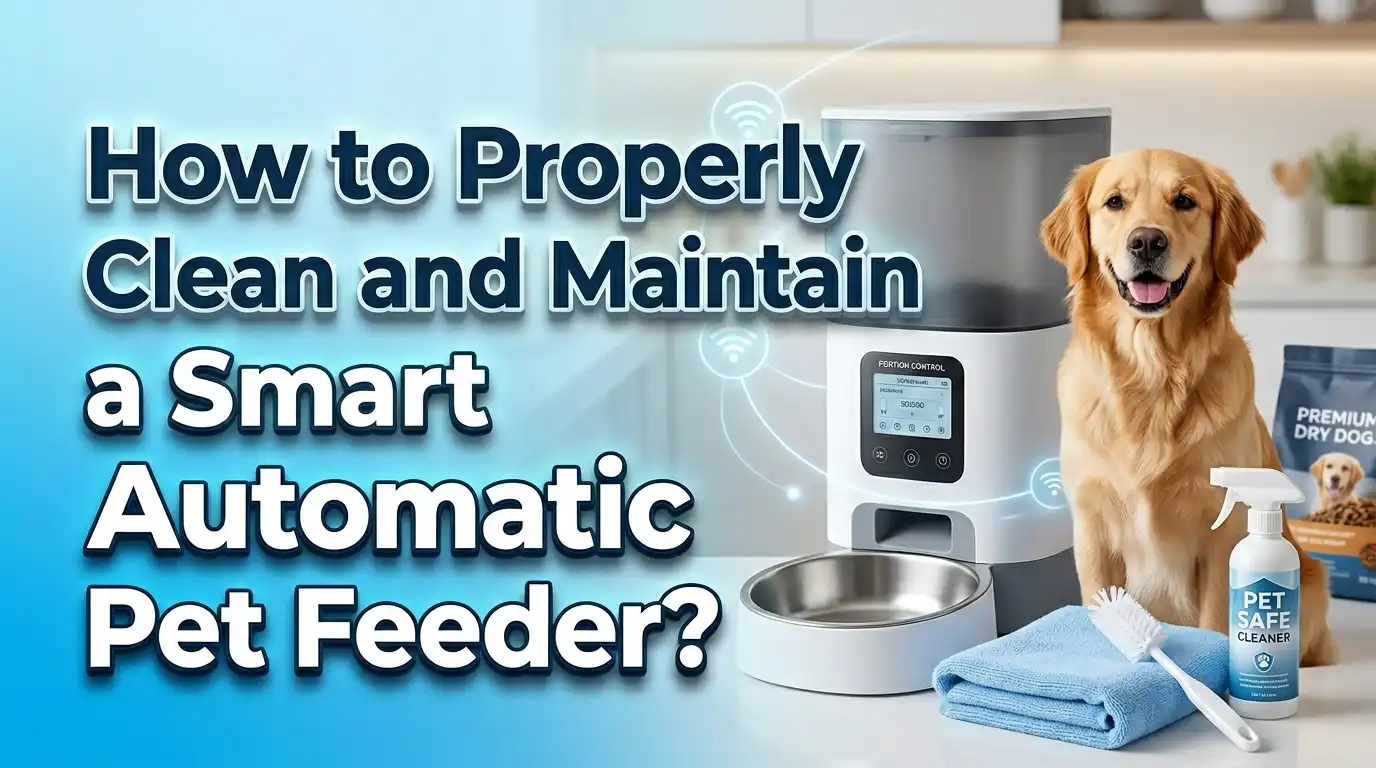
How to Properly Clean and Maintain a Smart Automatic Pet Feeder?
A smart automatic pet feeder saves time, supports portion control, and helps keep your pet on a steady meal routine. Still, many owners forget one simple truth.
A feeder is also a food container, a bowl, and a small machine. If you skip cleaning, old oils, food dust, moisture, and crumbs can build up fast.
That buildup can lead to bad smell, mold, sticky residue, blocked food flow, and poor meal accuracy. A clean feeder is not just about looks. It is about food safety, smooth feeding, and your pet’s health.
This guide gives you a clear plan you can use at home. You will learn what to clean, how often to clean it, which parts must stay dry, and what to do if your feeder starts jamming, smelling odd, or dispensing the wrong amount.
In a Nutshell
- Clean the bowl area far more often than most people think. Pet food safety guidance supports washing food bowls after each use and water bowls daily. For feeders, that means the bowl, tray, and any part that touches food should get regular attention. Small daily care stops big mess later.
- Always unplug the feeder and remove batteries before deep cleaning. Smart feeders have motors, buttons, sensors, and power ports. Water and electronics do not mix. Many maker guides say the base should be wiped only, while removable parts can be rinsed or washed.
- Do not treat every part the same. The bowl, tray, lid, hopper, and some food tanks may be washable. The base usually is not. Some brands also warn that parts like the conveyor, crumb catcher, top lid, or desiccant area need special care. Check the manual first.
- Drying matters as much as washing. Moisture left in the hopper or chute can lead to mold, stale food, clumping, and food jams. If a part feels even slightly damp, do not rush reassembly. Let it air dry fully.
- Use mild soap and soft tools. A soft sponge, warm water, and gentle dish soap work well for most food contact parts. Harsh cleaners, rough scrub pads, and strong scent products can leave damage or residue that you do not want near pet food.
- Build a routine instead of waiting for a problem. A quick daily wipe, a weekly wash of food contact parts, and a deeper monthly check for grease, dust, and wear can keep your feeder working longer. Routine care is easier than emergency cleaning after a jam or mold problem.
Why Regular Cleaning Matters More Than Most Pet Owners Think
A smart feeder holds dry food for days or even weeks. That sounds helpful, but it also means oils from kibble sit inside the machine longer than they would in a simple bowl. Over time, those oils turn sticky. Crumbs collect in corners. Dust settles in the chute. Moisture in the room can make the mess worse.
That is why regular cleaning protects both hygiene and performance. A dirty feeder can cause old food to mix with fresh food. It can make the bowl smell rancid. It can also slow the motor or block the food path.
Research on pet bowl hygiene shows that better washing habits reduce bacterial contamination. Food safety advice for pet owners also says bowls and scoops should be washed and dried after use. That lesson applies to feeders too, especially the bowl, tray, and chute area where food sits before your pet eats it.
Pros of frequent cleaning: safer feeding, less odor, fewer jams, and more accurate portions.
Cons of frequent cleaning: it takes a few extra minutes and may feel annoying at first.
The good news is that small cleaning sessions solve that problem. A two minute wipe each day can stop a thirty minute deep clean later.
Think of your feeder like a coffee maker or rice cooker. It is a kitchen tool for your pet. If food touches it, it needs care. Clean parts also let you spot cracks, worn seals, and trapped crumbs before they become a bigger issue.
What You Need Before You Start Cleaning
You do not need a long list of supplies. In fact, simple tools often work best. A soft sponge, a soft cloth, warm water, mild dish soap, a dry towel, and a small brush can handle most feeder cleaning jobs. A clean toothbrush can help you reach tight corners around the chute and rotor.
If your feeder has a stainless steel bowl, wash it like any regular pet bowl. If it has plastic parts, use a soft sponge to avoid scratches. Scratches matter because they can hold residue and make full cleaning harder.
You may also want cotton swabs for tiny edges around buttons or seams. A flashlight helps if you want to inspect the chute, rotor area, or sensor window. Keep paper towels nearby for quick drying during the process.
Hand washing method pros: gentle on delicate parts, better control, safer for items with awkward shapes.
Hand washing method cons: slower, easy to miss hidden grease, and results depend on how well you scrub and rinse.
Dishwasher method pros: easy, hot water, and useful for some bowls or trays if the manual allows it.
Dishwasher method cons: not safe for every part, heat can warp plastic, and some feeder pieces may trap water.
Do not use bleach, rough pads, strong degreasers, or heavy fragrance cleaners unless the maker says they are safe. Strong chemicals can damage plastic, leave smell behind, or create residue near pet food.
One more helpful item is your feeder manual. If you lost it, look up the maker guide online before you start. Many smart feeders look simple, but their lid, tank, rotor, and base often come apart in a very specific order.
How to Shut Down and Empty the Feeder Safely
Before you wash anything, stop the feeder the right way. Unplug the power cord first. If your feeder also uses backup batteries, remove them too. This step matters because many bases should never get wet, and you do not want the unit running while your hands are near moving parts.
Next, empty all food from the hopper. Pour unused kibble into a clean storage container or back into the original food bag if it is still fresh. Food safety advice often recommends keeping dry food in the original bag, or placing the whole bag inside a clean lidded container. That helps you keep the lot number and best by date.
Never wash a feeder with food still inside. Crumbs fall deeper into the machine during cleaning. Oils also smear across parts instead of coming off cleanly.
After emptying, dispense a small manual portion if your feeder allows it. This can clear a little food from the chute. Then unplug again if needed and continue. If your feeder has a desiccant pouch in the lid, remove it before washing nearby parts. Keep that pouch dry unless the maker says it can be replaced or cleaned.
Quick shutdown and emptying pros: safer cleaning, less mess, and easier access to hidden crumbs.
Quick shutdown and emptying cons: you may need to reset the clock on some older units after power is removed.
Take a moment to inspect the food. If it smells stale, feels damp, or looks dusty, throw it away. Fresh food should smell normal and move freely. Clumped kibble can be a sign of moisture or old oil buildup inside the feeder.
How to Take the Feeder Apart Without Causing Damage
Disassembly is the step where many people rush, and that is where clips snap or seals get bent. Go slowly. Remove the lid first. Then lift out the bowl and tray. After that, take out the hopper or food tank if your feeder model allows it. Some smart feeders also let you remove the tank base, rotor, conveyor, or splitter.
Lay each part on a clean towel in the order you removed it. That simple habit makes reassembly much easier. If your feeder has a motorized food wheel or conveyor, look for a latch or lock mark. Do not pull hard. If it does not move easily, stop and check the manual.
Force is almost never the answer with feeder parts. Plastic tabs and seals are easy to damage. Once they bend or crack, food may not flow well and the lid may stop sealing tightly.
Some maker guides also warn owners to remove desiccant bags before cleaning and to keep top lids with electronics dry. Others say the base must never be rinsed or even wiped with a very wet cloth. That is why model specific steps matter.
Full disassembly pros: best deep clean, easier to remove hidden crumbs, and better for mold prevention.
Full disassembly cons: takes more time, easy to misplace a small part, and can confuse owners the first few times.
Partial disassembly pros: faster and good for weekly upkeep.
Partial disassembly cons: may leave greasy buildup in the chute, rotor, or tank base.
If you feel unsure, take phone photos as you go. That one minute trick can save a lot of frustration later.
Best Way to Wash the Bowl, Tray, and Other Food Contact Parts
Start with the bowl, tray, splitters, and removable food contact parts. These pieces touch food directly, so they need the most regular washing. Use warm water and mild dish soap. Wash every surface, including the underside of the tray and any grooves where crumbs collect.
Rinse very well. Soap film is not something you want in your pet’s next meal. If the bowl has oily residue, wash it twice. Kibble oils can cling to smooth surfaces more than people expect.
A dishwasher may help, but only if your manual says those parts are dishwasher safe. Some maker guides say bowls, lids, or hoppers are safe there. Others say certain parts must be hand washed only. Never guess with heat and plastic.
For bowls with scratches, chips, or cloudy buildup that never seems to go away, replacement is often the smart answer. Damaged surfaces are harder to clean well. They can also hold smell.
Hand washing pros: best for gentle care and close inspection.
Hand washing cons: slower, and warm sink water may be less effective than a full hot dishwasher cycle.
Dishwasher use pros: good heat, less hands on work, and helpful for stubborn grease if the part is approved.
Dishwasher use cons: some parts warp, some trap water, and repeated high heat can shorten part life.
If your pet eats wet food from a special feeder, clean even more often. Studies on pet bowls found higher contamination levels in bowls used for wet food. Wet food leaves more residue and spoils faster. That means the safe window for cleaning is much shorter than with dry kibble.
How to Clean the Hopper, Lid, Rotor, and Food Chute
The hopper and chute need more attention than they usually get. Dry food may look clean, but it leaves powder, oil, and tiny broken bits behind. Those bits settle in the food path and can slowly narrow the opening. That is one of the main causes of feeder jams.
Wash the hopper and tank base if your model allows it. Use warm water, mild soap, and a soft sponge. For the chute and rotor area, use a small soft brush to lift out crumbs. If the part is removable, clean it fully and rinse well. If it is fixed in place, wipe it carefully with a barely damp cloth and then follow with a dry cloth.
Some feeder guides say the lid and tank can be rinsed, while the base and some top lids with electronics must stay dry. Others say the feeder base should not even be wiped with a wet cloth. That is why this step must follow your model rules closely.
Check the lid seal and desiccant area too. Debris around seals can let in moisture. A dirty seal can also stop vacuum or freshness features from working well on some smart units.
Deep cleaning the hopper and chute pros: fewer jams, fresher food smell, and smoother portion delivery.
Deep cleaning the hopper and chute cons: more parts to handle and more drying time.
Quick wipe only pros: fast and useful between full cleans.
Quick wipe only cons: grease stays behind and hidden crumbs often remain.
Run your finger along the inside surface after washing. If it feels slick, wash again. A truly clean hopper should feel smooth, not oily.
How to Clean the Base, Buttons, Sensors, and Power Area Safely
The base is the part most people fear cleaning, and for good reason. It holds the motor, control panel, sensors, and power connection. On many feeders, this section must never be submerged. Some maker guides say not to get it wet at all.
The safest method is a dry cloth first. Remove loose dust, crumbs, and hair from the outside. Then use a slightly damp soft cloth only if your manual allows it. Wipe small areas at a time. Follow right away with a dry cloth. Keep water far from buttons, charging ports, speaker holes, and seams.
If food dust collects near the dispenser opening, use a dry soft brush or cotton swab. Be gentle. Sensors can scratch, and crumbs can get pushed deeper if you press too hard.
Less water is better on the base. You are not trying to wash it like a dish. You are trying to remove surface grime without sending moisture inside.
Dry cloth method pros: safest for electronics, simple, and low risk.
Dry cloth method cons: weaker on sticky spots and oily residue.
Slightly damp cloth method pros: better for sticky marks and dried food dust.
Slightly damp cloth method cons: higher risk if too much water is used.
Do not spray cleaner right onto the feeder. Spray the cloth lightly if needed, then wipe. That gives you more control. Also make sure your hands are dry when handling the power area. One rushed wipe with a wet cloth can turn a working feeder into a repair project.
How to Dry and Reassemble Every Part the Right Way
Washing is only half the job. Drying is what prevents mold, stale smell, and food clumping later. Air drying is usually the safest choice. Place washed parts on a clean towel and give them enough time. Turn bowls, trays, and hopper parts so trapped water can escape.
Use a dry towel for the first pass, but do not rely on that alone. Towels often miss seams, corners, and clips where water hides. If you put the feeder back together too early, the leftover moisture stays trapped with the food.
Before reassembly, inspect each part closely. Look for soap film, water droplets, cracks, bent seals, and old crumbs that may have been missed. Check the chute opening and the underside of the lid. If your feeder uses a desiccant pack, put it back only when the surrounding area is fully dry.
Air drying pros: safer, better for seams, and lower chance of lint or hidden moisture.
Air drying cons: slower and harder if you are in a rush.
Towel drying pros: faster and useful as a first step.
Towel drying cons: may leave lint and often misses hidden moisture.
Once everything is dry, reassemble in the reverse order. Make sure the rotor or conveyor clicks into place correctly. Set the hopper straight. Fit the bowl tray tightly. Then restore power and check the screen, app connection, and meal schedule.
Always do a small test feed before filling the hopper all the way. That quick test helps you catch a bad latch, a crooked tray, or a missed part before your next scheduled meal.
Best Routine for Daily, Weekly, and Monthly Upkeep
The easiest way to keep a smart feeder clean is to stop thinking of cleaning as one big event. A simple routine works better. Daily care can be very small. Wipe the bowl area, check for crumbs in the chute, and make sure the food smells fresh. If your pet drools or pushes food around, clean the bowl after meals.
Weekly care should go deeper. Wash the bowl, tray, splitter, and other food contact parts. Empty old crumbs from the chute. Wipe the hopper interior if you are not doing a full wash that week. Look for oily film. Also check the lid seal and desiccant area.
Monthly care is the time for a deep clean. Empty the feeder fully. Wash all approved removable parts. Inspect the motor area from the outside for dust. Make sure the portion system moves freely. Check for worn clips, scratches, and stiff seals.
Daily quick clean pros: easy, fast, and great at stopping odor and surface grime.
Daily quick clean cons: does not remove hidden buildup inside the hopper or rotor.
Weekly deep clean pros: strong balance of effort and results for most dry food feeders.
Weekly deep clean cons: takes planning, especially if your feeder holds several days of food.
Monthly full teardown pros: best for long term feeder life and better problem spotting.
Monthly full teardown cons: easiest to delay if your schedule gets busy.
The right routine depends on the food and the pet. Wet food needs more cleaning. Humid homes need more drying care. Pets that slobber into the bowl or paw at the feeder also create extra mess. Adjust the routine to real use, not just the calendar.
How to Fix Common Feeder Cleaning and Maintenance Problems
If your feeder smells bad, starts jamming, or stops giving the right portion, cleaning is often the first fix. A stale smell usually means old oil buildup, damp residue, or trapped crumbs. Empty the feeder, wash all safe parts, and let everything dry fully before refilling.
If food jams in the chute, inspect the kibble size first. Some feeders do poorly with large, odd shaped, or crumbly pieces. Moisture can also cause kibble to stick together. Clean the chute and rotor, dry them well, and check the desiccant pack if your feeder uses one.
If the bowl area gets slimy or sticky fast, your pet may leave saliva behind, or the food may be richer in fat. That means you need more frequent bowl washing. Do not wait for a visible mess. Smell and texture often change before buildup becomes obvious.
If the feeder under serves or over serves, a dirty conveyor or poorly seated rotor may be the cause. Reassemble carefully and run a test meal. Also check that no part is warped or misaligned.
Quick fix cleaning pros: often solves common issues without tools or repair cost.
Quick fix cleaning cons: will not help if the motor, sensor, or circuit has failed.
Part replacement pros: useful for cracked bowls, worn seals, and damaged clips.
Part replacement cons: adds cost and depends on part availability.
One more issue is storage. If you pour new kibble over old kibble without emptying and wiping the hopper, oils and crumbs stay inside for too long. Food safety advice also says storage containers should be washed and dried between bags. Fresh food deserves a fresh feeder. That one habit alone can improve smell, flow, and food quality.
FAQs
How often should I clean my smart automatic pet feeder?
Clean the bowl and tray often, ideally after meals or at least several times each week. Deep clean the removable food contact parts weekly for most dry food setups. Do a full check and wash about once a month. If you use wet food, live in a humid home, or notice drool and residue, clean more often.
Can I wash the whole feeder under running water?
No. In most cases, the base should never go under running water because it contains electronics. Only removable parts that the manual approves for washing should be rinsed. The base usually needs a careful wipe, not a full wash.
Is dishwasher cleaning better than hand washing?
It can be, but only for parts marked dishwasher safe. Hot dishwasher cycles can remove grease well and may reduce bacteria better than weak hand washing. Still, some parts can warp or trap water in the dishwasher. Follow the maker instructions for each part.
Why does my feeder still smell bad after cleaning?
The smell may be coming from hidden oil inside the hopper, chute, or rotor area. It can also come from a damp part that was reassembled too soon. Wash again, inspect tight corners, and allow full air drying. Check the desiccant area and lid seal too.
What food choices make feeder cleaning harder?
Wet food, crumbly kibble, oily kibble, and oversized pieces all create more buildup. Wet food leaves more residue and spoils faster. Large or odd pieces can jam the chute. If your feeder is made for dry food only, stick with that rule. The cleaner the food flow, the easier the upkeep.