How to Groom a Matted Long Haired Cat Without Getting Scratched?
If you own a long haired cat, you already know the struggle. One day the fur looks silky and beautiful. The next day, you discover tight, tangled clumps hiding under the coat. You reach in to fix it, and suddenly your cat turns into a tiny, furious tornado of claws.
Matted fur is more than a cosmetic problem. Those tight knots pull on your cat’s skin, block airflow, and can lead to irritation or even infection. Your cat feels the pain, which is exactly why grooming sessions can turn into a battle. The result? You walk away with scratches on your hands, and your cat hides under the bed for hours.
But here is the good news. You can groom a matted long haired cat at home safely and scratch free. The secret is a mix of proper tools, the right technique, smart timing, and a calm approach. Many cat owners skip straight to scissors or force their cat into a grooming session. Both are mistakes that make the situation worse.
This guide will walk you through every step. You will learn why mats form, how to prepare your cat, which tools work best, and how to remove tangles without stressing your cat or injuring yourself. Whether the mats are minor or severe, you will find a clear plan here.
Key Takeaways
- Mats form for specific reasons, and understanding them helps you prevent future problems. Long haired cats develop mats because shedding undercoat gets trapped beneath the top coat. Movement areas like the belly, armpits, and behind the ears are common trouble spots. Older cats and overweight cats are especially prone to matting because they cannot groom those hard to reach areas.
- Timing and mood matter more than the tools you use. Start grooming sessions when your cat is relaxed, full from a meal, and in a calm environment. A stressed or playful cat will resist, which increases the chance of scratching.
- Your fingers are the safest starting tool for mat removal. Before reaching for any brush or comb, use your hands to gently loosen the outer edges of the mat. This causes less pain and helps you feel how tight the knot is against the skin.
- Never use regular scissors to cut out mats. Cat skin is thin and loose. It is very easy to accidentally cut your cat’s skin with scissors, even if you are careful. Electric clippers or thinning shears are much safer options.
- Small, short sessions work better than one long grooming marathon. You do not need to remove every mat in a single sitting. Work on one area, reward your cat, and come back later. This approach builds trust over time.
- Severe matting may require professional help. If the mats cover large areas, sit tight against the skin, or your cat shows signs of pain, a veterinarian or certified cat groomer is the safest choice.
Why Long Haired Cats Get Matted Fur
Long haired cats have a double coat. The soft undercoat sits beneath the longer outer coat. When the undercoat sheds, those loose hairs can get caught in the top layer instead of falling away. Over time, these trapped hairs twist together and form tight clumps.
Movement zones are the most common places for mats to develop. Areas like the armpits, inner thighs, behind the ears, under the chin, and around the collar see a lot of friction. This constant rubbing pushes loose fur into tangles faster than your cat can groom it away.
Dirt, moisture, and natural skin oils also speed up the matting process. If your cat gets wet or rolls in something sticky, the fur clumps together quickly. Cats that eat wet food sometimes get bits of food in their chest fur, which can start a mat that grows over time.
Health issues play a role too. Cats with arthritis or dental pain may stop grooming because it hurts to bend or use their mouth. Overweight cats struggle to reach their belly and back. Senior cats often lose the flexibility needed to keep their full coat clean. If you notice your cat’s grooming habits have changed, a vet visit is a smart first step to rule out underlying health problems.
Why Matted Fur Is Painful and Dangerous
Many cat owners assume matted fur is just a cosmetic issue. It is not. Mats pull on the skin with every movement your cat makes. Imagine having a chunk of your hair glued to your scalp while someone tugs on it all day. That is what a mat feels like.
As mats grow tighter, they trap heat and moisture against the skin. This creates the perfect environment for bacteria to grow. Skin beneath a mat can become red, inflamed, and even infected. In severe cases, the skin can tear or bruise, especially in older cats whose skin has lost elasticity.
Thick mats can also restrict your cat’s movement. Mats on the belly or inner thighs can prevent a cat from squatting in the litter box, jumping, stretching, or sitting comfortably. Cats instinctively hide their pain, so you might not notice the problem until the matting has become severe.
The pain from mats is also the primary reason grooming sessions go wrong. Your cat is not being “difficult” or “mean.” Your cat is reacting to discomfort. When you pull on a mat during brushing, the pain triggers a defensive response, and that is when claws come out. Understanding this changes the way you approach the entire grooming process.
Gather the Right Tools Before You Start
Preparation makes a huge difference. Having everything within arm’s reach means you can work smoothly without pausing to search for supplies. Breaks in the process give your cat time to become anxious or try to escape.
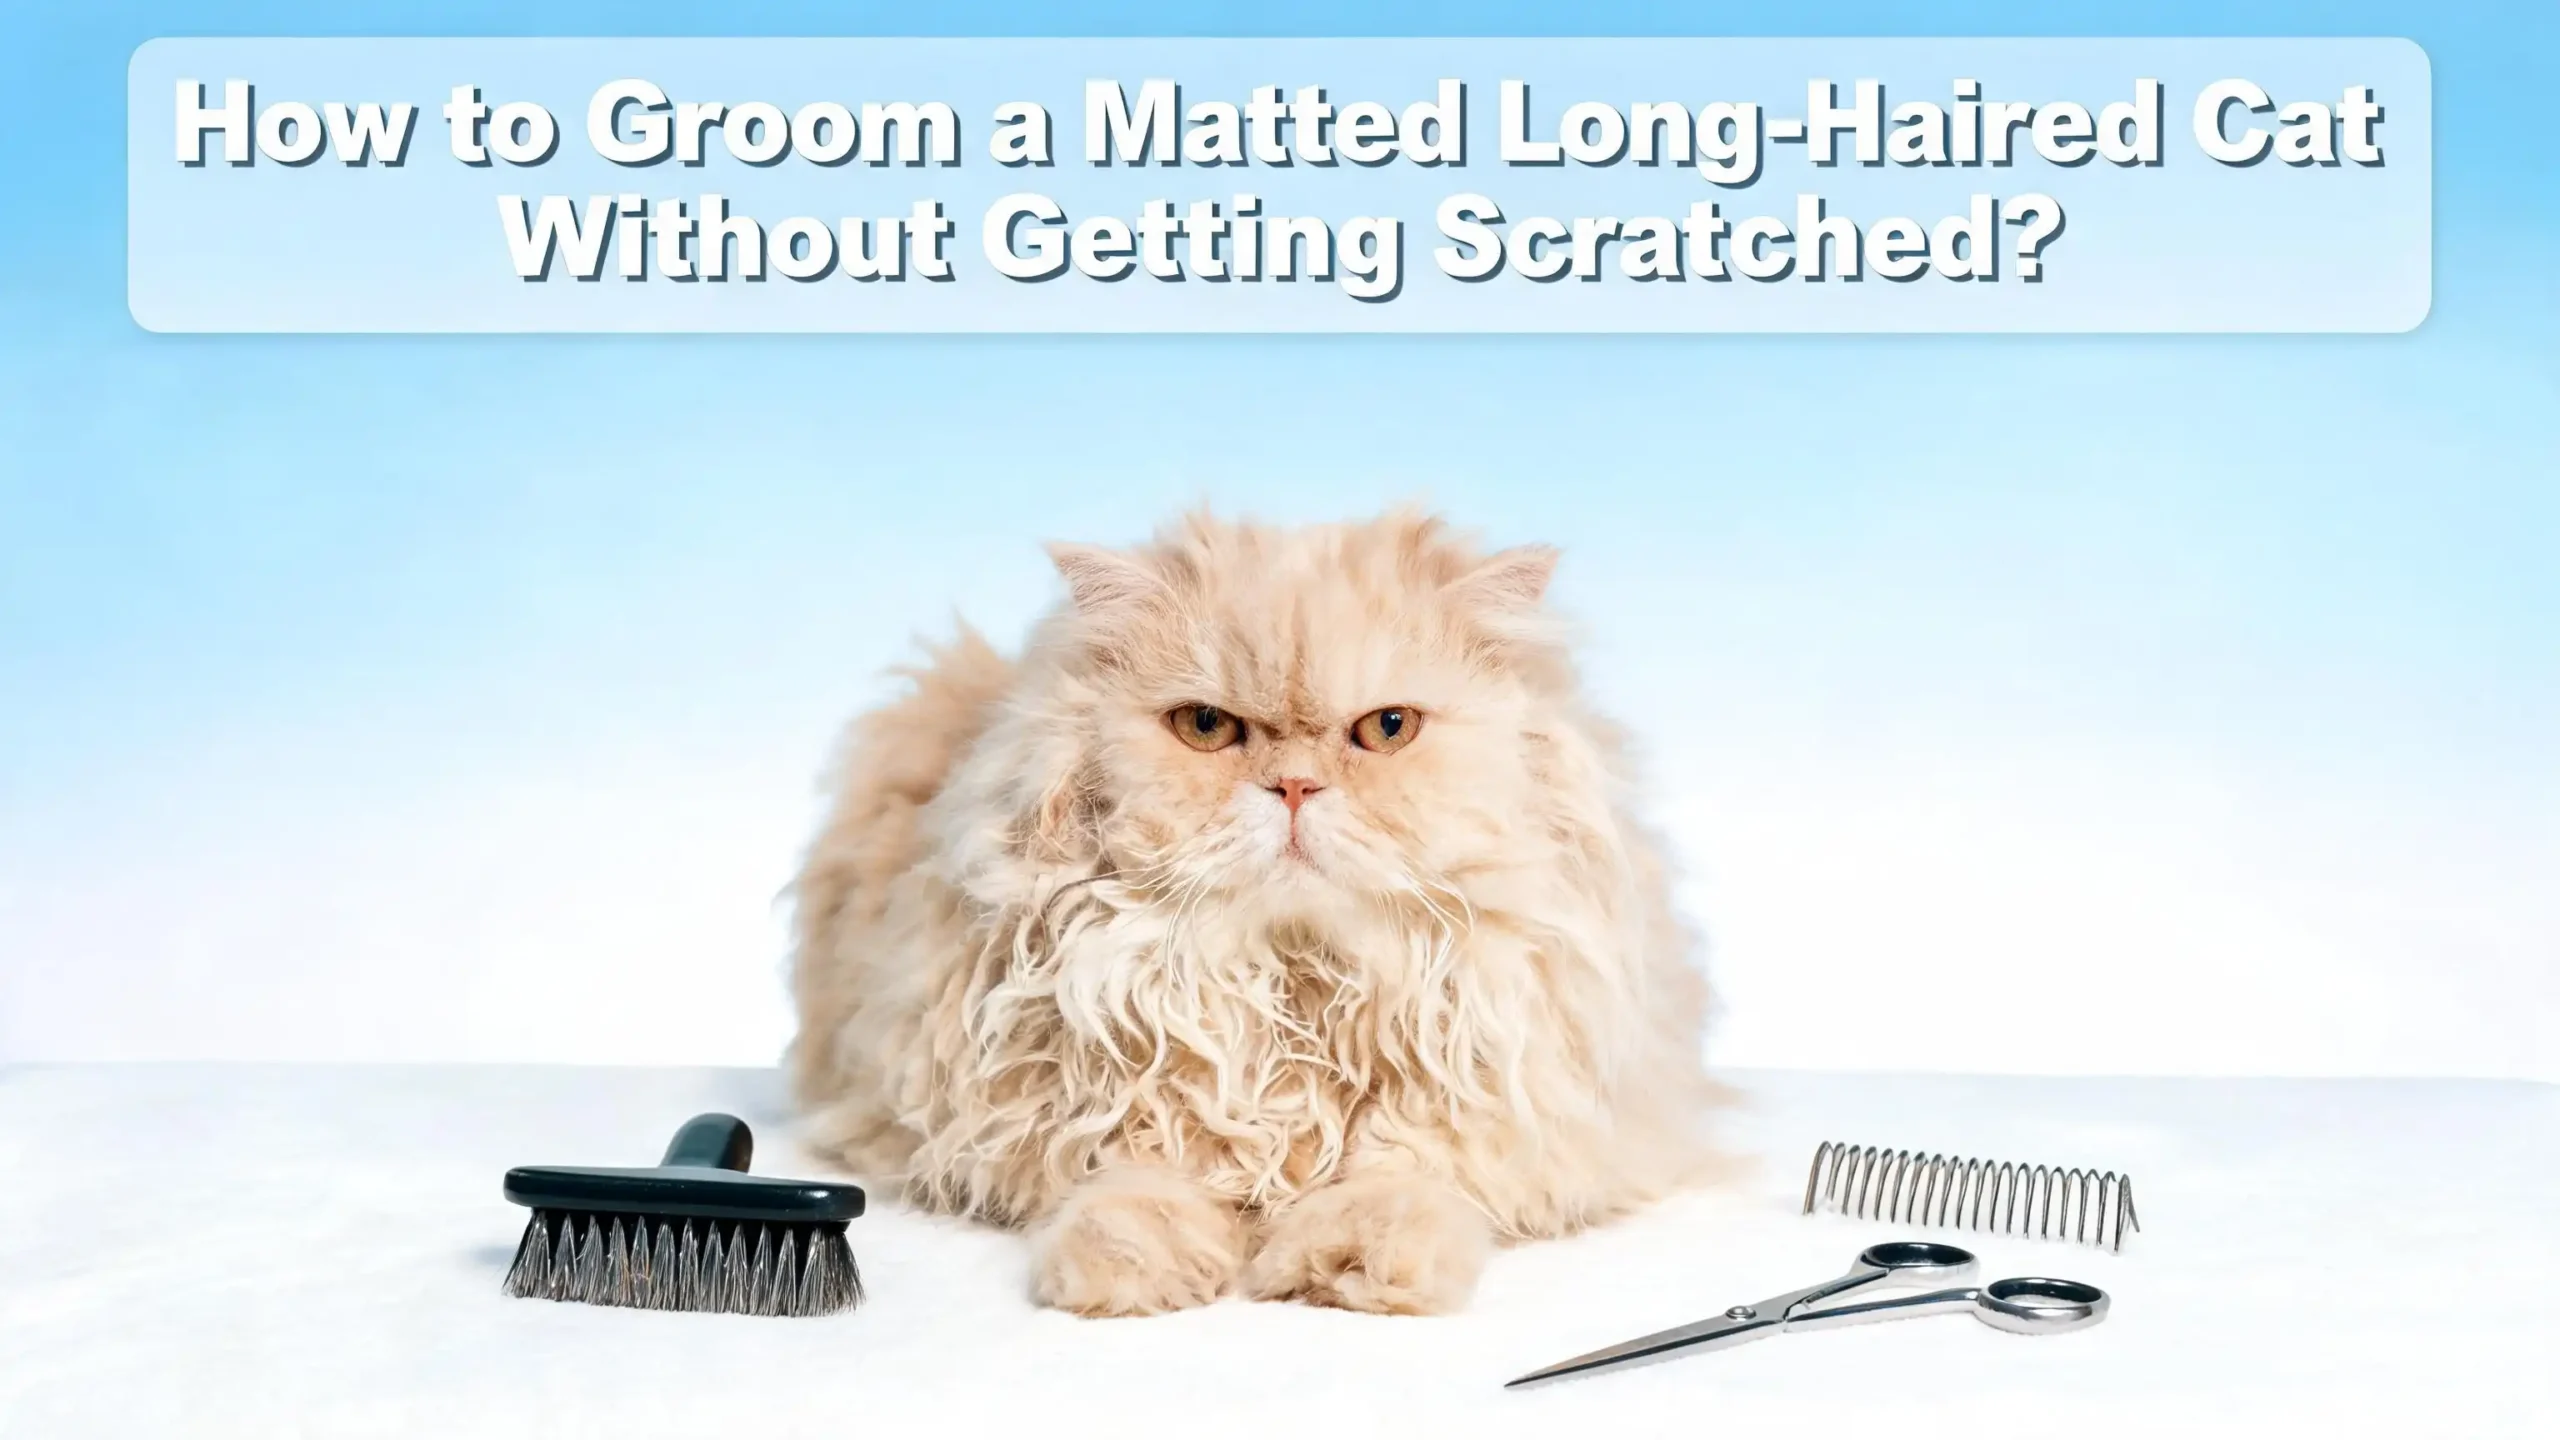
A wide toothed metal comb is essential. This tool lets you work through tangles gently without pulling too hard on the skin. A standard fine toothed comb will snag on mats and cause pain.
A mat breaker or mat splitter is helpful for moderate tangles. These small tools have curved blades that slice through the mat without pulling on the surrounding fur. Use them carefully, as the blades are sharp.
Electric pet clippers with a #10 blade are the safest option for cutting out severe mats. Clippers glide along the skin and cut the fur evenly. They are far safer than scissors because they reduce the risk of cutting your cat’s thin, loose skin.
Thinning shears are another good option. They have one toothed blade and one smooth blade, which lets you thin out thick fur and break apart mats without removing all the hair in that area.
Keep treats, a soft towel, and a calm attitude ready. Treats reward cooperation. The towel can be used to gently wrap your cat if needed. Your calm energy helps your cat stay relaxed throughout the process.
How to Calm Your Cat Before Grooming
The biggest factor in a scratch free grooming session is your cat’s emotional state. A relaxed cat is a cooperative cat. A scared or agitated cat will fight, scratch, and bite.
Choose a time when your cat is naturally calm. After a meal is ideal because cats tend to feel sleepy and content with a full stomach. Avoid grooming after playtime, as your cat will be overstimulated and more likely to use claws.
Start with gentle petting before you bring out any tools. Spend a few minutes stroking your cat in their favorite spots. Let them purr. This sets the tone and signals that this is a pleasant interaction, not a threat.
Some cat owners use calming pheromone sprays in the grooming area. These synthetic pheromones mimic the natural scent markers that cats produce when they feel safe. Spraying the area 15 to 20 minutes before grooming can help reduce anxiety.
Keep the environment quiet. Turn off loud televisions, close doors to block barking dogs, and dim harsh lights if possible. Cats are sensitive to noise and sudden movements. A quiet room gives you the best chance of maintaining a peaceful session.
If your cat begins to show signs of stress during grooming, such as flattened ears, a twitching tail, hissing, or growling, stop immediately. Return to petting and praise. You can always try again later. Pushing through stress is how scratches happen.
How to Protect Yourself From Scratches
Even with a calm cat, accidents can happen. A sudden pain from a pulled mat can trigger a quick swipe. Protecting yourself is not about restraining your cat. It is about smart positioning and preparation.
Wear a long sleeved shirt made from thick fabric. This simple step prevents most surface scratches. Some groomers also keep a pair of light gardening gloves nearby for extra protection, though thick gloves can reduce your ability to feel the mat and your cat’s skin.
Position your cat on a stable, elevated surface. A table covered with a non slip mat or towel works well. Cats feel less defensive on a surface where they have solid footing. Avoid holding your cat in your lap, as this puts your arms and legs directly in the scratch zone.
Always work from the side or behind your cat, never from directly in front of their face. Cats defend forward. If you approach from the side, you are outside the primary strike range.
Keep one hand on your cat at all times, gently but firmly. This hand serves two purposes. It gives your cat a sense of security, and it lets you feel any tension in their body before they react. The moment you feel muscles tighten, pause. Wait for your cat to relax before continuing.
If your cat is especially defensive, ask a second person to help. One person can distract and soothe the cat with treats while the other works on the mat.
Start With Your Fingers First
Professional groomers and veterinarians agree on one thing. Your fingers are the safest and most effective first tool for mat removal. Fingers let you feel exactly how tight the mat is and how close it sits to the skin.
Locate the mat by running your hand through your cat’s fur. Once you find it, do not pull it away from the body. Instead, hold the base of the mat close to the skin with one hand. This prevents the pulling sensation that causes pain and triggers scratching.
With your other hand, gently start to separate the outer fibers of the mat. Work from the edges inward, peeling small sections apart like pulling cotton apart. You will not remove the entire mat this way, but you will loosen it significantly.
Sprinkle a small amount of cornstarch into the mat. This absorbs oils and makes the fibers slippery, which helps them separate more easily. Some groomers also recommend using a small amount of olive oil applied at the base of the mat with a syringe (without a needle). The oil works its way under the mat and can cause it to loosen or fall off within a few days.
Be patient. Finger work is slow, but it is painless and stress free for your cat. Even if you only loosen the mat partially, you have made the next step much easier.
Using a Comb or Mat Breaker on Tangles
Once you have loosened the mat with your fingers, you can move to a tool. A wide toothed metal comb works best for mats that have been partially separated.
Hold the base of the fur with one hand, pressing gently against the skin. This is the same technique hair stylists use to brush knots out of a child’s hair. It prevents the comb from pulling at the root.
Use short, gentle strokes starting from the outer edge of the mat. Do not dig the comb into the center of the mat and pull. Work gradually from the tips of the fur toward the skin, removing small sections of the tangle at a time.
A mat breaker or mat splitter is useful for denser tangles. These tools have sharp, curved blades designed to slice through mats. Slide the tool under the mat and pull outward, away from the skin. The blades cut through the tangled hair without pulling on the root.
Take breaks every few minutes. Offer your cat a treat and some praise. Even cats with high tolerance will lose patience during extended sessions. Short bursts of grooming followed by rewards build positive associations.
If the mat is too tight for a comb or mat breaker to handle, do not force it. Forcing a tool through a severe mat causes pain and is the number one reason cats scratch during grooming. Move on to clippers instead.
When to Use Electric Clippers
Electric clippers are the safest way to remove severe mats that cannot be loosened by hand or comb. Veterinarians recommend clippers over scissors because cat skin is extremely thin and loose. Scissors can easily grab and cut the skin beneath a tight mat.
Before you use clippers on a mat, get your cat used to the sound and vibration first. Turn the clippers on near your cat without touching them. Let your cat sniff the clippers while they are off. Reward any calm behavior. This introduction process might take a day or two, but it prevents panic during the actual grooming.
Use a #10 blade, which is considered the safest blade for cat grooming. Start just before the base of the mat, positioning the clipper flat against the skin. Move slowly and gently in short strokes. Do not push the clipper into the mat. Instead, lightly lift the mat as the clipper slides underneath it.
For very thick mats, work in layers. Start at the top of the mat where the fur is least tangled. Remove a thin layer, then move down to the next layer. Repeat until you reach the skin or a point where you can switch back to a comb.
Check the skin beneath the mat after removal. Look for redness, sores, or irritation. If the skin appears inflamed or broken, clean it gently and monitor it for signs of infection. Contact your veterinarian if the area does not improve within a day or two.
Why You Should Never Use Regular Scissors
This warning deserves its own section because it is one of the most common and dangerous mistakes cat owners make. Regular scissors are extremely dangerous for mat removal on cats.
Cat skin is thinner and looser than human skin. When you lift a mat away from the body, the skin lifts with it. Scissors cannot distinguish between fur and skin, and the cut happens in a split second. Even experienced groomers have accidentally cut cat skin with scissors.
The wounds from scissors can be deep and often require veterinary stitches. Because cat skin is thin, these cuts can be larger than expected and heal slowly. An injured cat will also associate grooming with pain, making future sessions much harder.
If you must use a cutting tool, use thinning shears or electric clippers. Thinning shears cut only a portion of the hair with each snip, which reduces risk. Clippers stay flat against the skin and shave the fur evenly.
Another safe technique is to slide a metal comb under the mat, flat against the skin, and then cut above the comb. The comb acts as a barrier between the scissors and your cat’s skin. This method requires patience and a very calm cat, but it adds a critical layer of safety.
The Olive Oil Method for Stubborn Mats
If your cat will not tolerate any grooming tools near a mat, the olive oil method offers a completely hands off alternative. This technique works by applying olive oil to the base of the mat and letting it work over several days.
Use a small syringe without a needle to apply the oil as close to the skin as possible. The narrow tip of the syringe lets you get the oil under the mat, right where it needs to be. Use room temperature oil. Cold oil applied to the sensitive skin on a cat’s belly or back will startle them.
Apply a generous amount. Using too little oil means nothing will happen except oily fur. Using a lot of oil will not harm your cat. Olive oil is safe for cats even if they ingest it while grooming.
After applying the oil, leave the mat alone. Within two to three days, many mats will loosen enough to fall off on their own. If the mat has not fallen off after three days, reapply the oil and wait again.
Be aware that your cat will transfer oil to anything it lies on. Protect furniture and bedding with towels or washable covers during this process.
This method is especially useful for senior cats, anxious cats, or cats that have had traumatic grooming experiences. It requires zero restraint, zero tools, and zero stress. The mat simply falls off, and there is no bald spot left behind.
How to Handle Severely Matted Cats
Some cats develop matting so severe that home grooming is not safe or practical. If your cat’s mats cover large areas, form a solid “pelt” against the skin, or if the skin beneath appears red and irritated, professional help is the best choice.
A certified cat groomer trained in feline behavior can demat your cat safely. Look for groomers who specialize in cats or at least schedule cat grooming separately from dogs. The presence of barking, unfamiliar dogs in a grooming salon can terrify a cat before the grooming even begins.
Ask about the groomer’s cat handling experience. Qualified cat groomers understand feline body language and use low stress handling techniques. Some hold Fear Free certification, which means they are trained to minimize fear and anxiety during the grooming process.
In extreme cases, your veterinarian may need to sedate your cat for mat removal. Sedation is sometimes the most humane option for cats with full body matting or mats that have caused skin damage. The vet can shave the mats, treat any skin issues, and check for underlying health problems that may have caused the matting.
Never feel guilty about seeking professional help. Some mats are simply beyond safe home removal, and forcing the issue puts both you and your cat at risk.
Building a Daily Grooming Routine to Prevent Mats
Prevention is always easier than treatment. A short daily brushing session is the single most effective way to prevent mats in a long haired cat.
You do not need to groom the entire cat each day. Focus on one area per session. Monday might be the belly. Tuesday might be behind the ears. Rotating through problem areas ensures every spot gets attention throughout the week.
Start with a rubber brush to collect loose surface fur. Then switch to a pin brush or wide toothed comb to work through the undercoat. Finish with a metal comb to catch any small tangles before they become mats.
Make grooming a positive routine by pairing it with something your cat enjoys. Brush right before a meal, or offer a small treat after each session. Over time, your cat will associate the brush with good things and become more cooperative.
Pay extra attention during seasonal shedding periods. Cats shed more in spring and fall, and this is when the undercoat produces the most loose fur. Increasing brushing frequency during these times prevents the excess fur from becoming trapped.
Keep a comb or brush in the room where you most often pet your cat. Quick passes through the fur during regular petting sessions can catch small tangles before they develop into full mats.
Diet and Health Factors That Affect Coat Quality
Your cat’s coat health starts from the inside. A diet rich in omega 3 fatty acids and vitamin E promotes a soft, healthy coat that resists matting.
Cats that eat low quality food often develop dry, brittle fur that tangles easily. Talk to your veterinarian about your cat’s diet and whether supplementation could improve coat quality. Fish oil supplements designed for cats can make a noticeable difference in fur texture within a few weeks.
Hydration also plays a role. Cats that drink enough water have better skin elasticity and produce less excess oil. Since many cats prefer running water, a pet water fountain can encourage more drinking.
Health conditions like hyperthyroidism can cause excess skin oil production, which leads to greasy, clumpy fur that mats quickly. Kidney disease, diabetes, and dental problems can all reduce a cat’s ability to groom. If your cat’s coat suddenly changes in texture or your cat stops grooming, schedule a veterinary checkup immediately.
Regular vet visits help catch these issues early. A cat with well managed health and a nutritious diet will have a coat that stays cleaner, sheds more evenly, and resists matting far better than a cat with unaddressed health concerns.
When to Visit the Vet About Matted Fur
Not every matting situation is a simple grooming issue. Sometimes matted fur is a symptom of a larger health problem that needs veterinary attention.
Schedule a vet appointment if your cat has suddenly developed mats after previously maintaining a clean coat. This change often signals pain, arthritis, dental disease, obesity, or another condition that is preventing normal self grooming.
Visit the vet if you find skin damage beneath mats. Redness, sores, discharge, or a bad smell coming from beneath the mat all indicate skin irritation or infection. These require medical treatment beyond simple mat removal.
Senior cats deserve special attention. As cats age, their skin becomes thinner and loses elasticity. Mats cause more pain and damage on thin, fragile skin. Your vet can advise the safest approach to grooming for an older cat and check for conditions like arthritis that may be contributing to the matting.
If your cat needs sedation for mat removal, only a veterinarian should perform this. There is no safe way to sedate a cat at home. Over the counter calming supplements may take the edge off mild anxiety, but they are not sufficient for severe matting removal on a distressed cat.
Your vet can also refer you to a certified cat groomer in your area and provide guidance on the best grooming tools and routines for your specific cat’s coat type.
Frequently Asked Questions
How often should I brush my long haired cat to prevent mats?
Daily brushing is the gold standard for long haired cats. Even five minutes per day can prevent most mats from forming. If daily brushing is not possible, aim for at least every other day. Focus on high friction areas like the belly, armpits, behind the ears, and under the chin. During heavy shedding seasons in spring and fall, increase your brushing frequency. Consistent, short sessions are far more effective than occasional long ones.
Can I bathe my cat to remove mats?
No. Bathing a cat with matted fur will make the mats worse. Water causes the tangled hair to tighten and shrink, which makes the mat denser and harder to remove. Always remove all mats before bathing your cat. Once the coat is mat free, a bath with cat specific shampoo can help keep the fur clean and reduce future matting.
Is it safe to use detangling spray on a cat?
Yes, detangling sprays made specifically for cats can help loosen minor mats. Apply the spray directly to the mat, let it sit for 10 to 15 minutes, and then gently work the mat apart with your fingers or a wide toothed comb. Do not use human detangling products on cats, as they may contain ingredients that are harmful if ingested during self grooming.
What should I do if my cat bites or scratches me during grooming?
Stop the grooming session immediately. Wash any wounds with soap and warm water. Cat scratches and bites can become infected quickly because of the bacteria in a cat’s mouth and on their claws. If redness, swelling, or warmth develops around the wound, see a doctor. Going forward, take the grooming sessions slower, use treats as rewards, and consider having a second person help during future sessions.
Should I shave my long haired cat to prevent matting?
A full shave is generally not recommended because the coat provides insulation in both hot and cold weather. However, trimming the fur shorter in areas that frequently mat, such as the belly and inner thighs, can reduce matting significantly. A groomer can give your cat a “sanitary cut” in these areas while leaving the rest of the coat at a comfortable length.
When should I take my matted cat to a professional instead of grooming at home?
Seek professional help if the mats cover large areas of the body, sit very tight against the skin, or if you can see or smell skin irritation beneath them. Also call a professional if your cat becomes extremely agitated or aggressive during home grooming attempts. A certified cat groomer or veterinarian has the tools, training, and experience to handle severe cases safely and with minimal stress for your cat.